Preserving Paper Photos by Scanning at 600 ppi
Preparing your paper photographs the right way helps us capture sharp, print-ready scans at 600 ppi. Follow the steps below to keep your images clean, organized, and easy to enjoy.
How We Organize Paper Photo Scans
We create image files for your paper photos just as we do for slides. We can place photo scans and slide scans in the same overall chapter or folder on your disk at no extra charge, but we do not intermix them within a numbered sequence.
Packaging Your Paper Photos
Avoid rubber bands—they can bend and damage photos. Most people separate pictures into envelopes that are large enough to hold them without a band. Don’t pack with shredded paper or loose material that can create debris during scanning.
Keep Photos in Flat, Grab-Ready Stacks
We need photos in stacks (not individual envelopes) so our team can scan efficiently. If you plan to send photos in albums or frames, we charge hourly for removal, and we can’t put items back or guarantee album condition after removal.
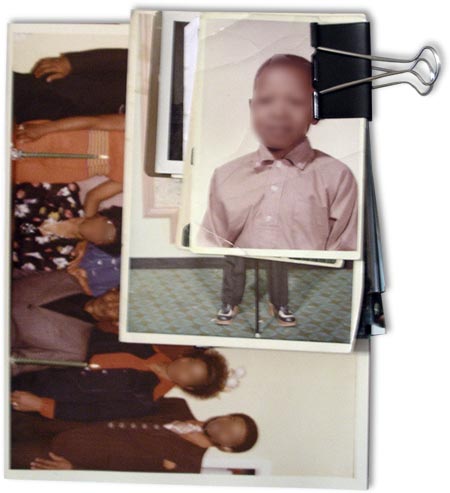
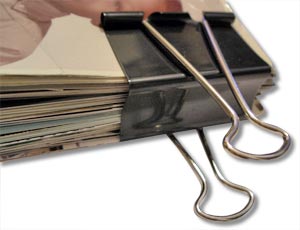
Mixing Different Photo Sizes
It’s fine to mix sizes within the same stack or chapter—you don’t need to sort by size. Binder clips from an office supply store work well to keep varied sizes together before placing stacks into labeled envelopes.
Clean Photos Before Stacking
Gently wipe both sides with a very soft, clean cloth. We do not clean paper photos before scanning. Even light dust can reflect scanner light and create white specks. If photos were glued into albums, brush any dried glue residue off the back as well.
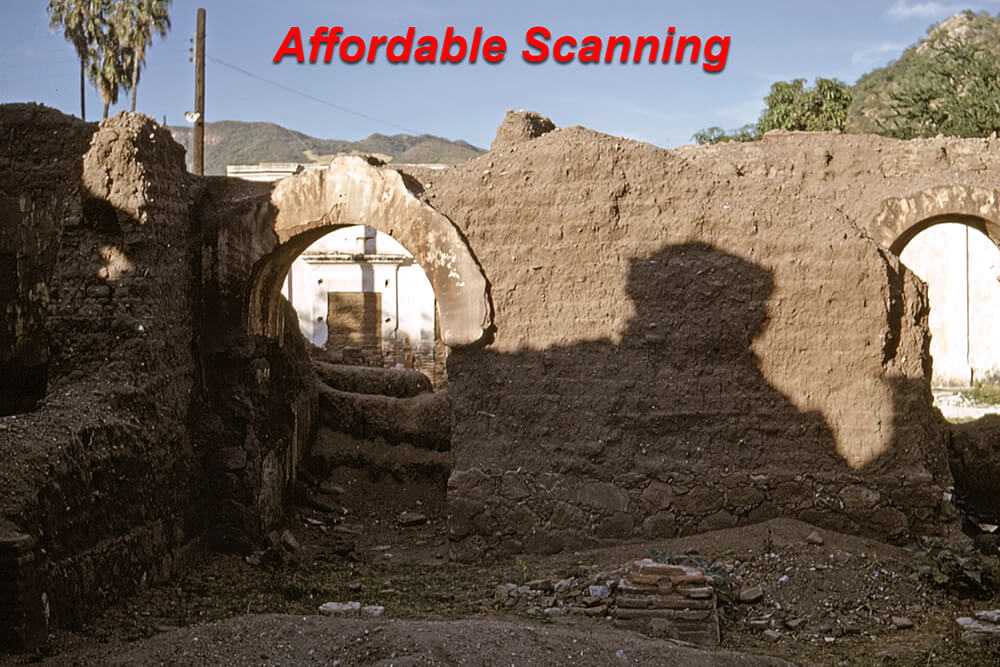
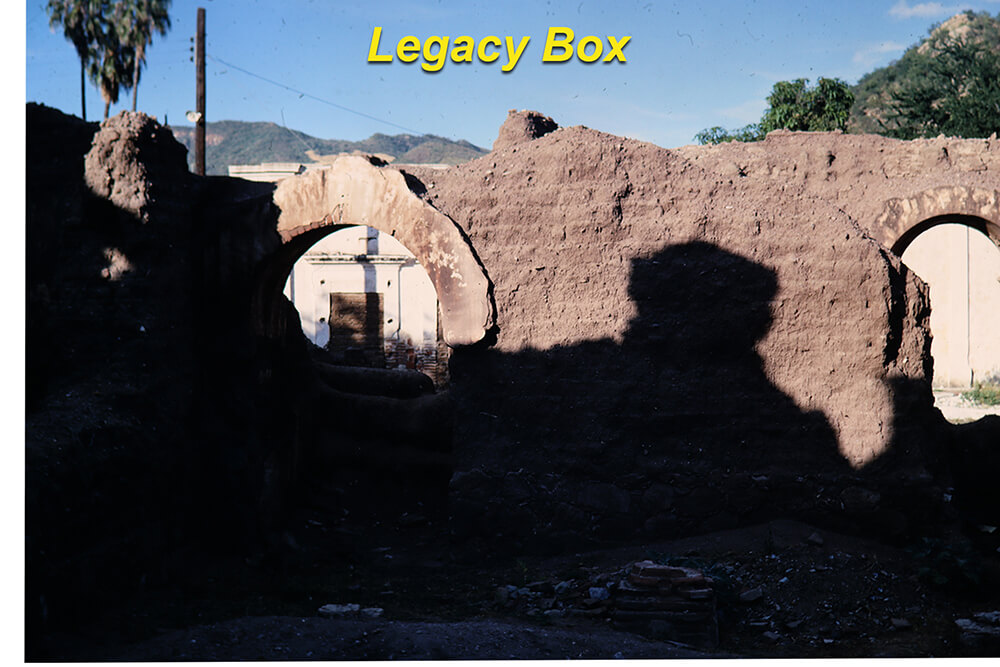
Scanning Resolution
Paper photos are scanned at 600 pixels per inch, and the finished files are also 600 ppi—excellent for printing and archiving.
Chapters (Shows) and Photo Counts
For easier navigation, we recommend limiting each chapter to about 100–150 photos. More chapters (with fewer items each) usually make for better menus and simpler browsing.
Numbering and Marking
Label stacks by the chapter they belong to (e.g., 3a, 3b, 3c) so we know all stacks for Chapter 3 go together. If you write on the backs, use pencil—never permanent ink. Marker ink can offset onto other photos and cause permanent damage.
Ready to get started?