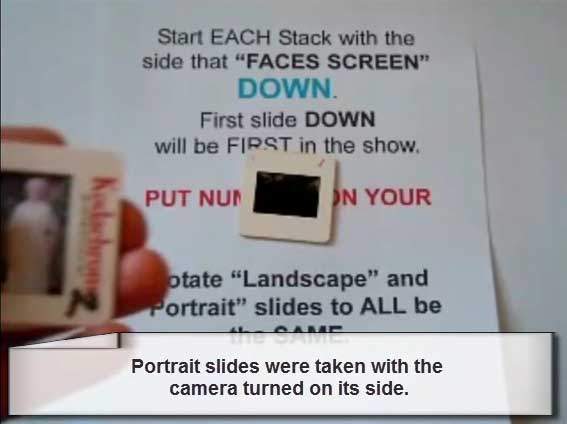
Stacking Your Slide Stacks Facing Down (Correct Order & Orientation)
We want to show you two different ways to get your slides stacked, organized and oriented correctly for scanning. This is a confusing subject for many people so we hope that this helps.
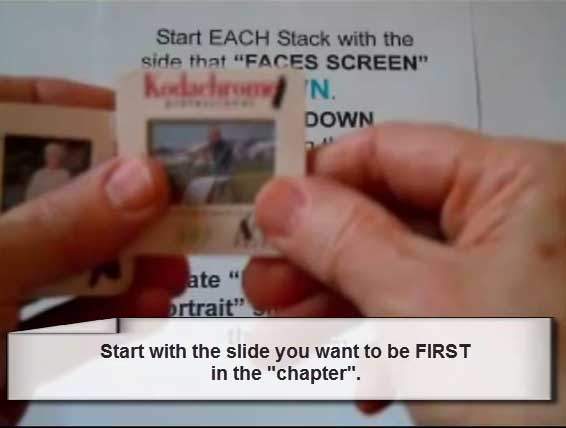
Our examples on this page will cover building your stack first slide down. You start with the very FIRST slide in each “show” or “chapter” and build your stack up. The top slide will be the LAST slide in the “show” or “chapter”.
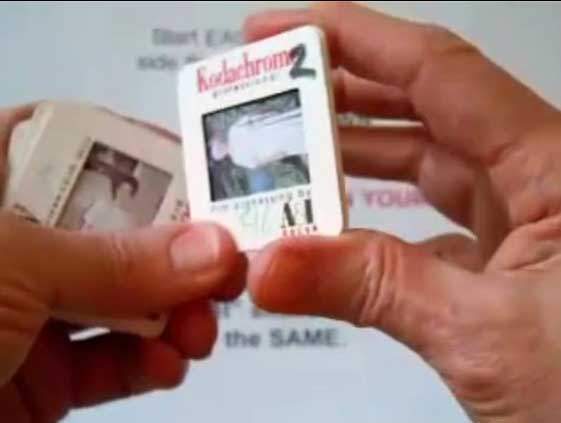
Determine Front and Back Of Slides
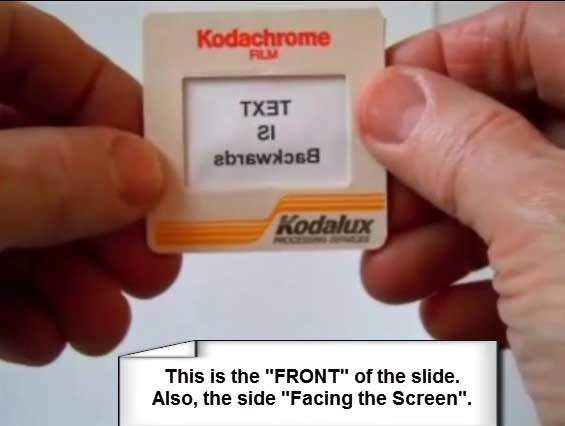
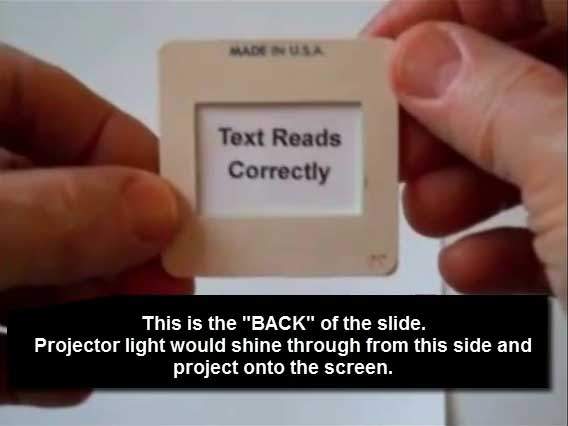
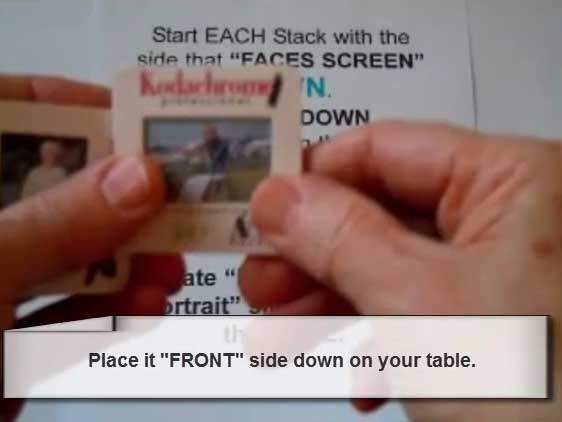
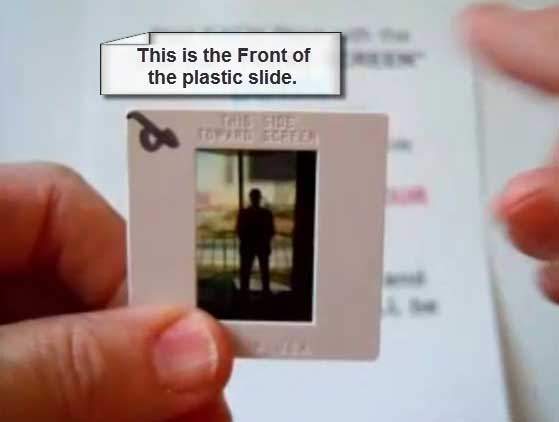
We know this is a confusing part of your slide organization. We have been dealing with this since 2002 and keep refining ways to help. For consistency, the side of the slide with the “LOGO” is the FRONT. If you hold a slide to the light and see a sign, the text will read “BACKWARDS.” Please don’t get hung up on this. We will deliver scans that read correctly on your TV, computer, and prints. Standardizing terms just keeps everyone on the same page.


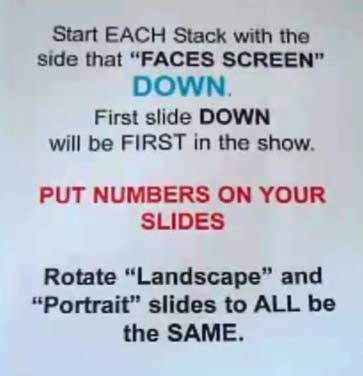
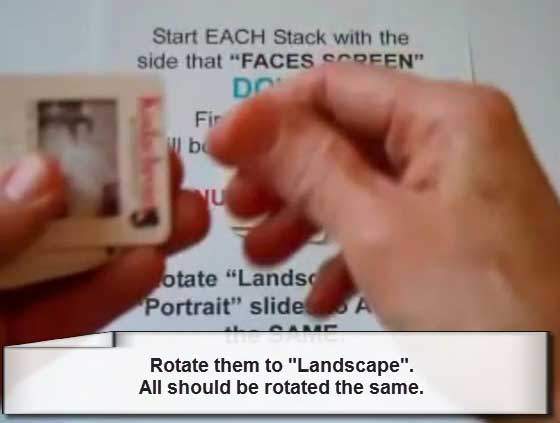
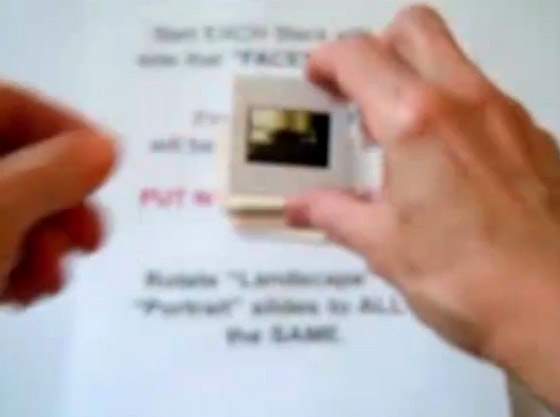
The person taking the picture may have turned the camera on its side to take a “portrait” picture. ALL portrait-oriented slides should be rotated to landscape orientation in your stacks so they scan properly; we will rotate the final images to view correctly.

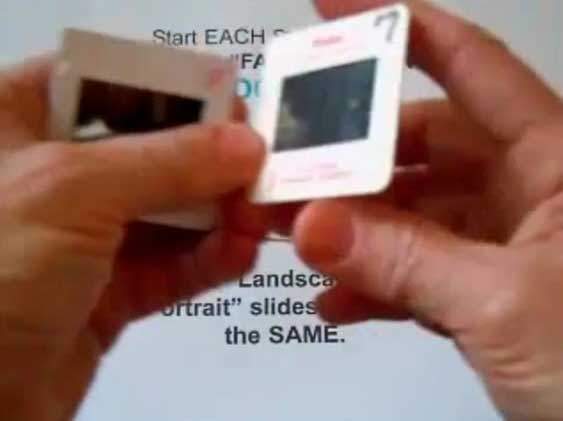
Flip the slide over and place it down on top of slide #1, with the bottom of slide #2 UP.
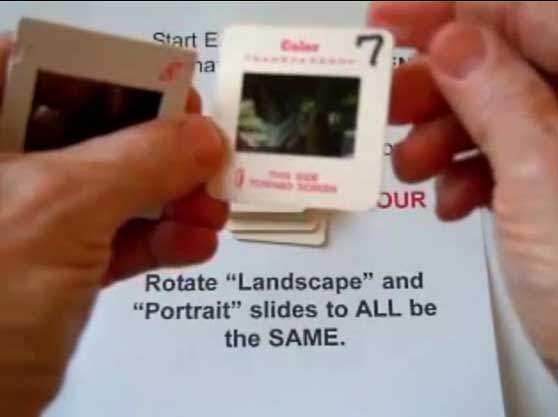
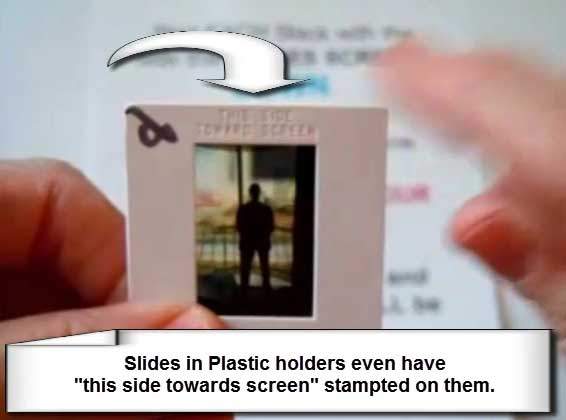
“THIS SIDE TOWARDS SCREEN” is the FRONT of the slide.
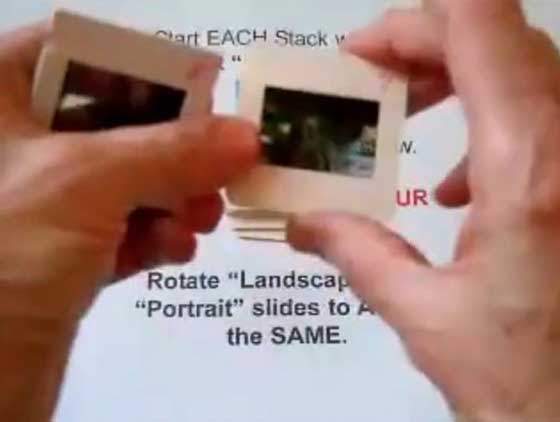
Flip it and put it down on top of the stack.
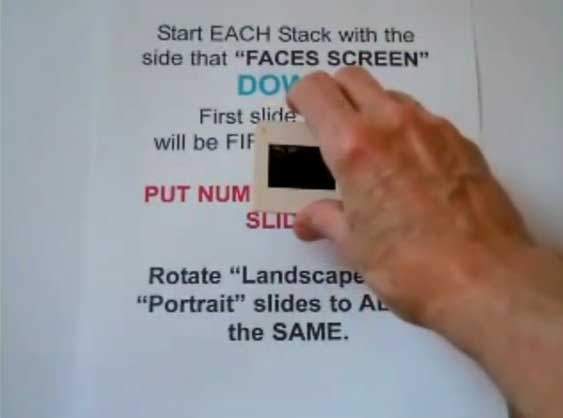
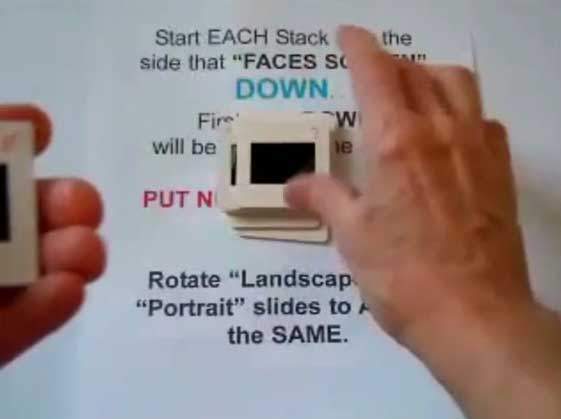
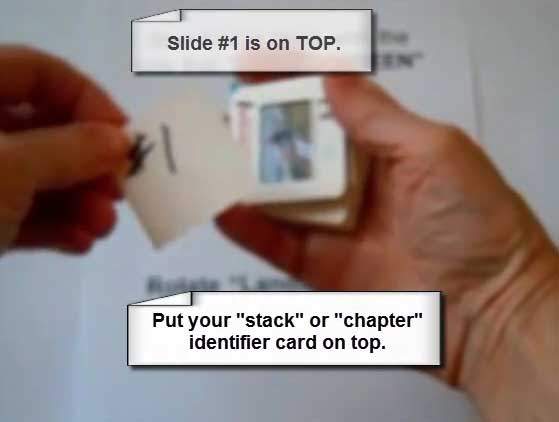
Now grab the stack from the top of the pile and turn it UP.

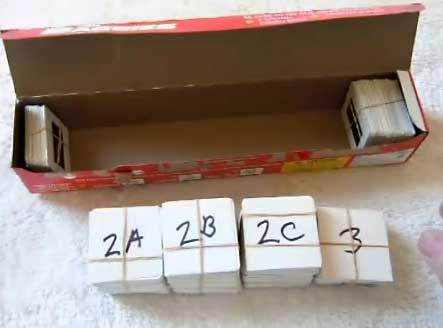
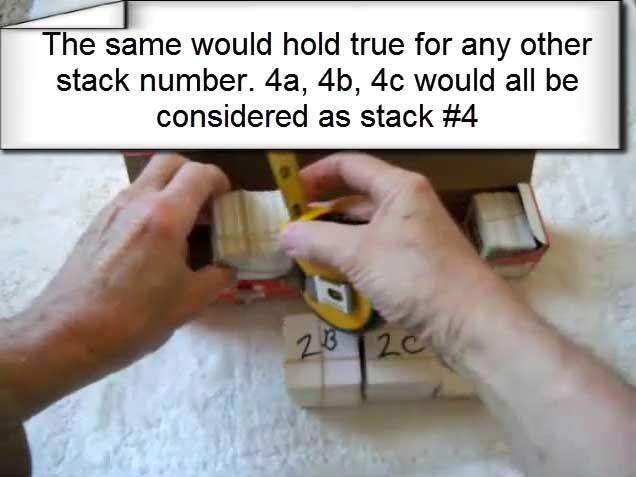
The #1 slide is now on the top and your stack is all in order. Put your stack identifier on the top and put rubber bands around the slide stack.
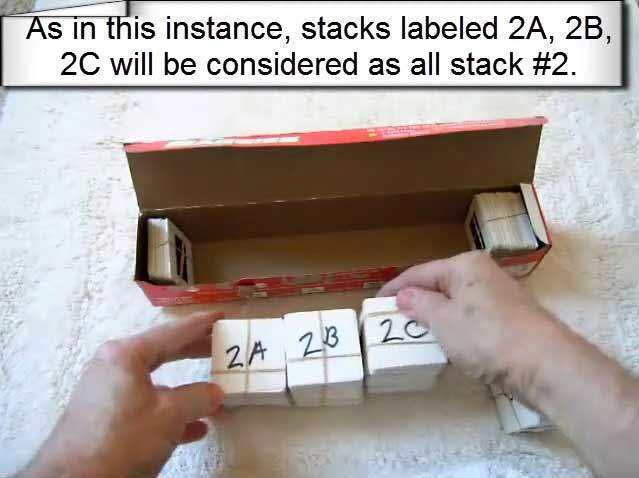
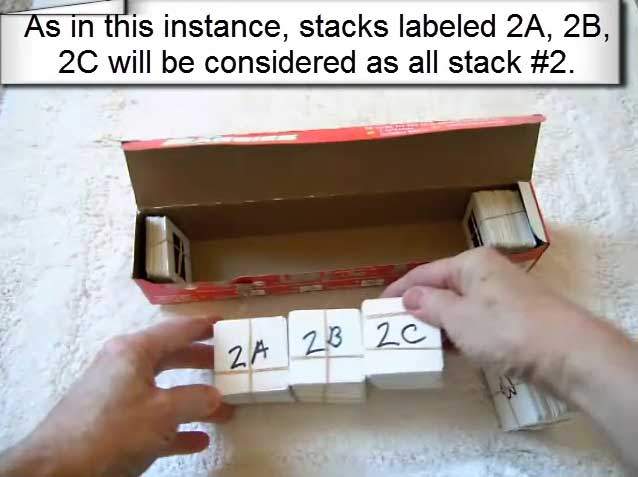
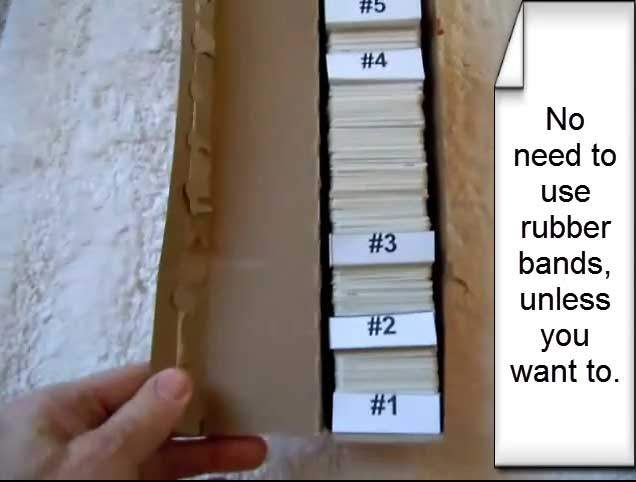
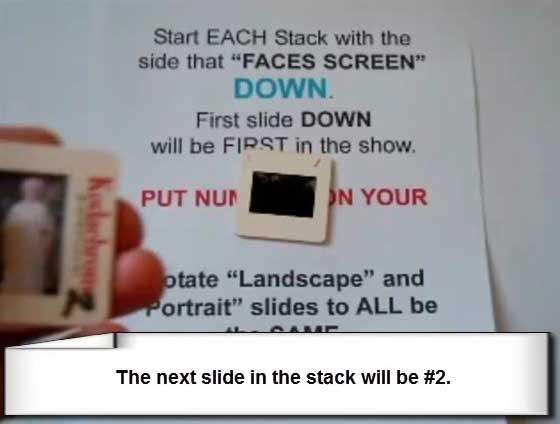
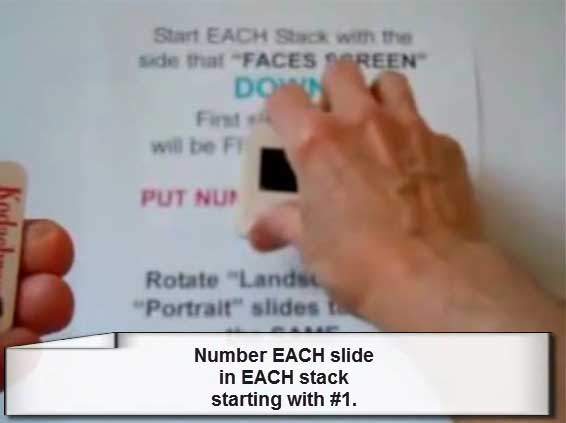
Waxed paper boxes, aluminum foil boxes, plastic baggie boxes, and many other types of boxes are ideal for keeping your slides organized after stacking. If you use this method, you don’t have to use rubber bands. Use a clearly marked divider, and number every slide starting at #1 in each chapter.