
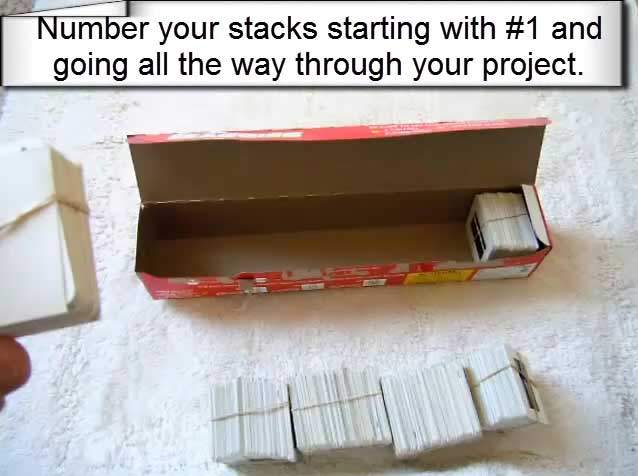
Organize Your Slides in Waxed Paper or Foil Boxes

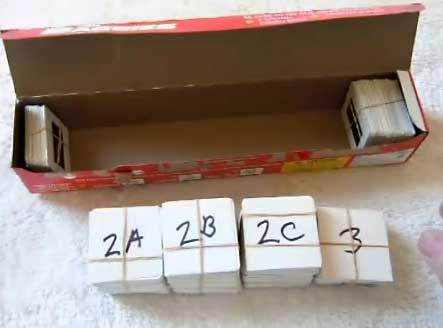
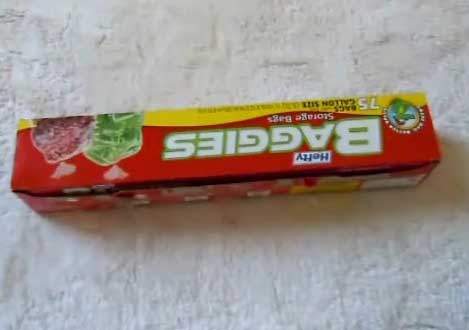
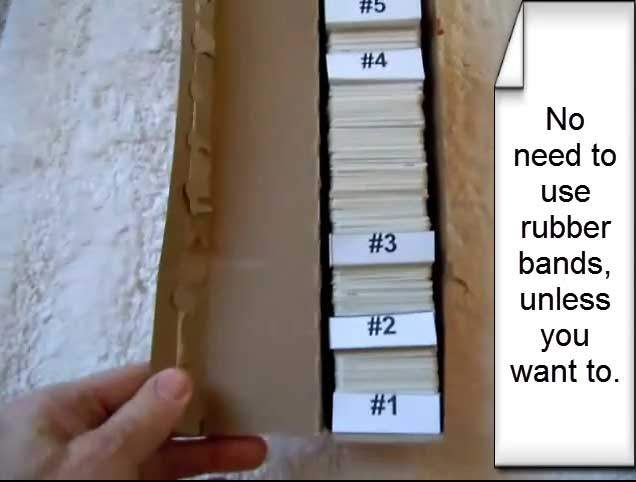
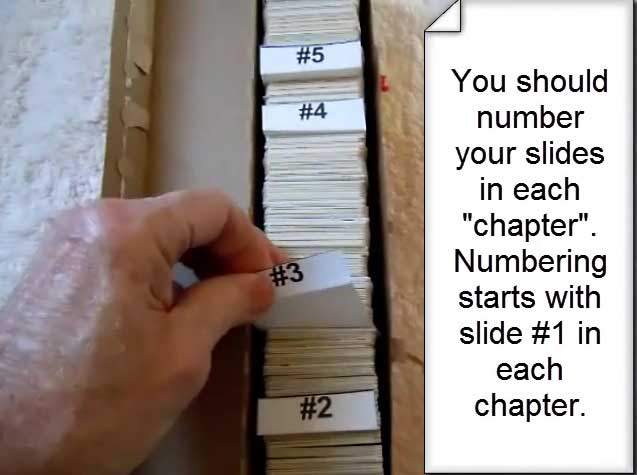
Waxed paper, aluminum foil, or similar 2" square kitchen boxes are perfect for keeping stacked slides grouped by chapter—no rubber bands needed. Clearly mark each divider and number slides per chapter (each chapter starts at #1) to keep the presentation order intact for scanning.

Fast, Tidy Slide Organization

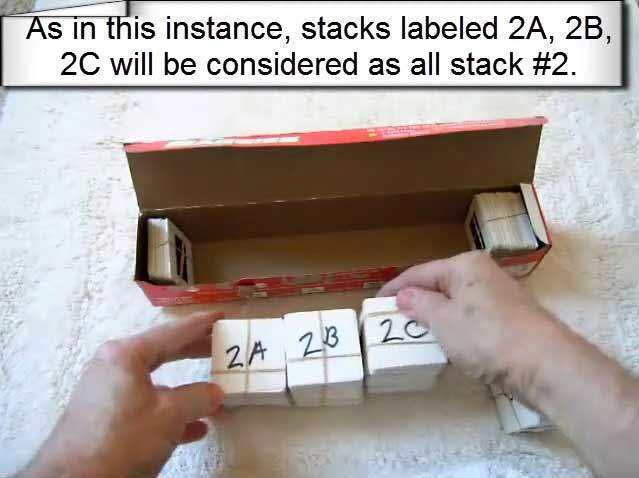
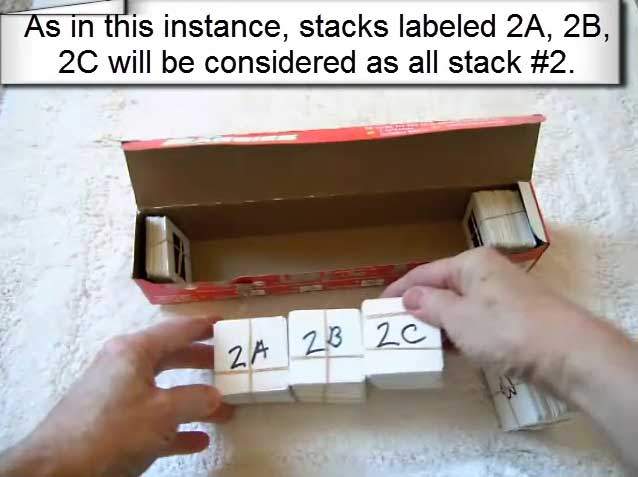
Place stacks into a snug 2" square box (waxed paper, foil, baggie boxes, etc.). Add a labeled divider between “shows” or chapters. Number slides for each chapter starting at #1 (e.g., Chapter 1: 1–45, Chapter 2: 1–32) so your folder order matches your story when we scan.

Ready to digitize? Start here: Order Forms.

Stacking slides from the bottom up: close-up of slide stack entering a small box (frame 20).
Bottom-up slide stacking (step 20)
Continuing the bottom-up stacking technique with aligned slides in hand (frame 22).
Aligned stack control (step 22)
Maintaining orientation as slides are stacked for boxing (frame 23).
Maintain orientation (step 23)
Inserting stacked slides into a 2-inch square kitchen box for organization (frame 24).
Into a 2″ square box (step 24)
Slides seated inside the box; tidy stack protects edges and keeps order (frame 28).
Tidy, edge-safe seating (step 28)
Divider card placed to separate chapters within the box (frame 29).
Use labeled dividers (step 29)
Numbering slides per chapter to preserve presentation order (frame 30).
Number each chapter 1…N (step 30)
Final alignment check of the slide stack inside the small box (frame 31).
Final alignment check (step 31)
Completed boxed slide set, ready for safe transport and scanning (frame 32).
Ready for transport & scanning (step 32)

Next step: send your organized slides for premium 4000 ppi scanning.

Start Your Order